Learn practical camping tarp setup ideas that keep you dry and comfortable. Perfect for RV, tent, and seasonal campers at any campsite.
You know that feeling when you wake up to rain pattering on your tent, and you realize you forgot to set up any extra shelter? Your picnic table is soaked, your gear is damp, and suddenly your morning coffee ritual feels more like a survival challenge. A good camping tarp setup can be the difference between a soggy disaster and a comfortable outdoor experience.
Whether you are staying at Willowemoc Campgrounds or any other location, knowing how to set up a tarp properly gives you options. Rain, sun, wind—a versatile tarp handles them all. The best part? You do not need advanced skills or expensive equipment to make it work.
Why Every Camper Needs a Solid Tarp Setup
A tarp is like insurance for your camping trip. When the weather turns, you will be glad you packed one. It creates instant shelter, protects your cooking area, keeps your firewood dry, and gives you a shaded spot to relax when the sun gets too intense.
Think of a tarp as your outdoor Swiss Army knife. One piece of gear, dozens of uses. You can turn it into a rain fly over your tent, a windbreak on blustery days, or a ground cloth to keep mud off your equipment. Some campers even use tarps to create private changing areas or extra storage space for their gear.
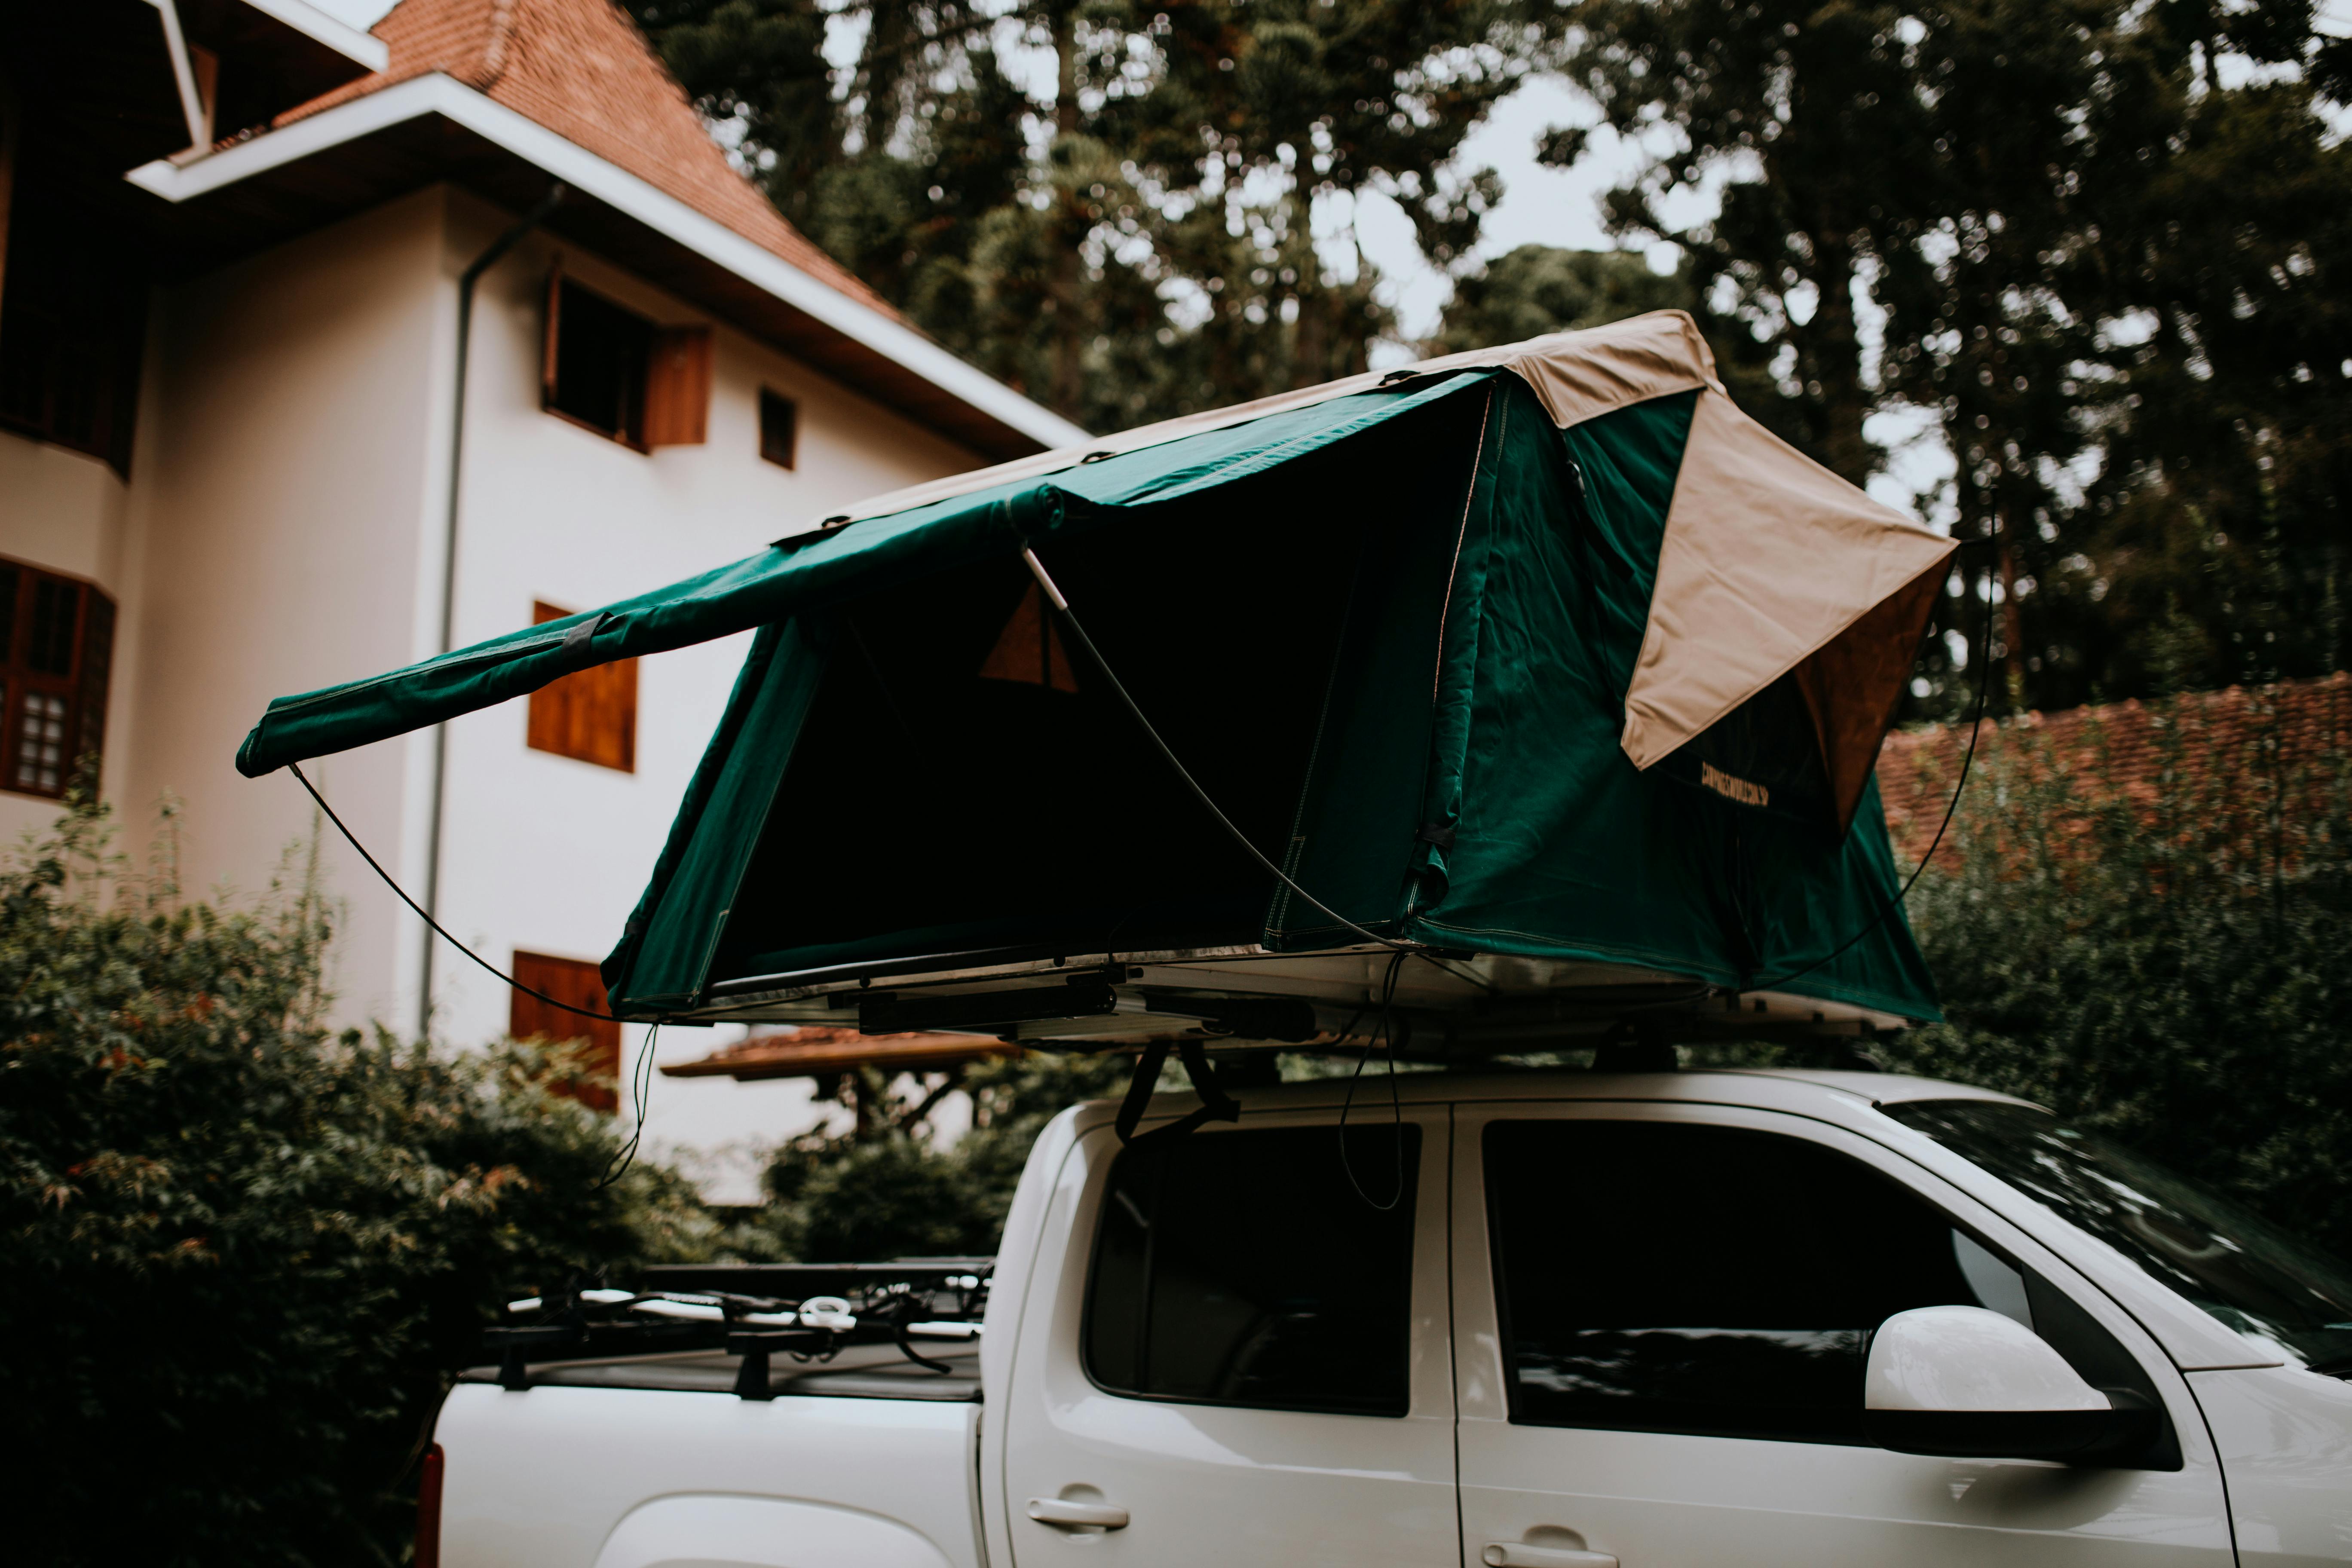
The beauty of a tarp lies in its simplicity. Unlike complicated tent systems with poles and stakes that seem to multiply when you are trying to pack up, a tarp folds down into a compact bundle. You can throw it in your vehicle and forget about it until you need it.
What You Need Before You Start
Before you start stringing up rope between trees, gather your supplies. A quality tarp is your foundation—look for one made from durable material that can handle wind and rain. Size matters too. A ten-by-twelve-foot tarp works well for most camping situations, but if you have a larger group or want more coverage, go bigger.
You will also need rope or paracord. Bring at least fifty feet, maybe more. Better to have extra than to come up short when you are halfway through your setup. Some campers swear by bungee cords for certain setups because they give you flexibility in windy conditions.
Stakes are your ground anchors. Pack more than you think you need. Six to eight good stakes will handle most situations. A small mallet or hammer makes driving them into hard ground much easier. And do not forget the duct tape—it fixes everything from small tears to reinforcing stress points.
The Classic A-Frame Setup
This is the setup everyone thinks of first, and for good reason. The A-frame camping tarp setup is simple, stable, and effective. You string a ridge line between two anchor points—usually trees—and drape your tarp over it. Stake down the corners, and you have instant shelter.
Start by finding two trees about ten to fifteen feet apart. Tie your ridge line at roughly six feet high. Throw your tarp over the line so it hangs evenly on both sides. Pull the corners out at an angle and stake them down. The tarp should form a triangular shape, like the letter A viewed from the side.
This setup sheds rain beautifully. Water runs down both sides and away from your sheltered area. You can adjust the height of your ridge line depending on whether you want more headroom or better wind protection. Lower setups handle wind better, while higher ones give you more space to move around.
The Lean-To Configuration
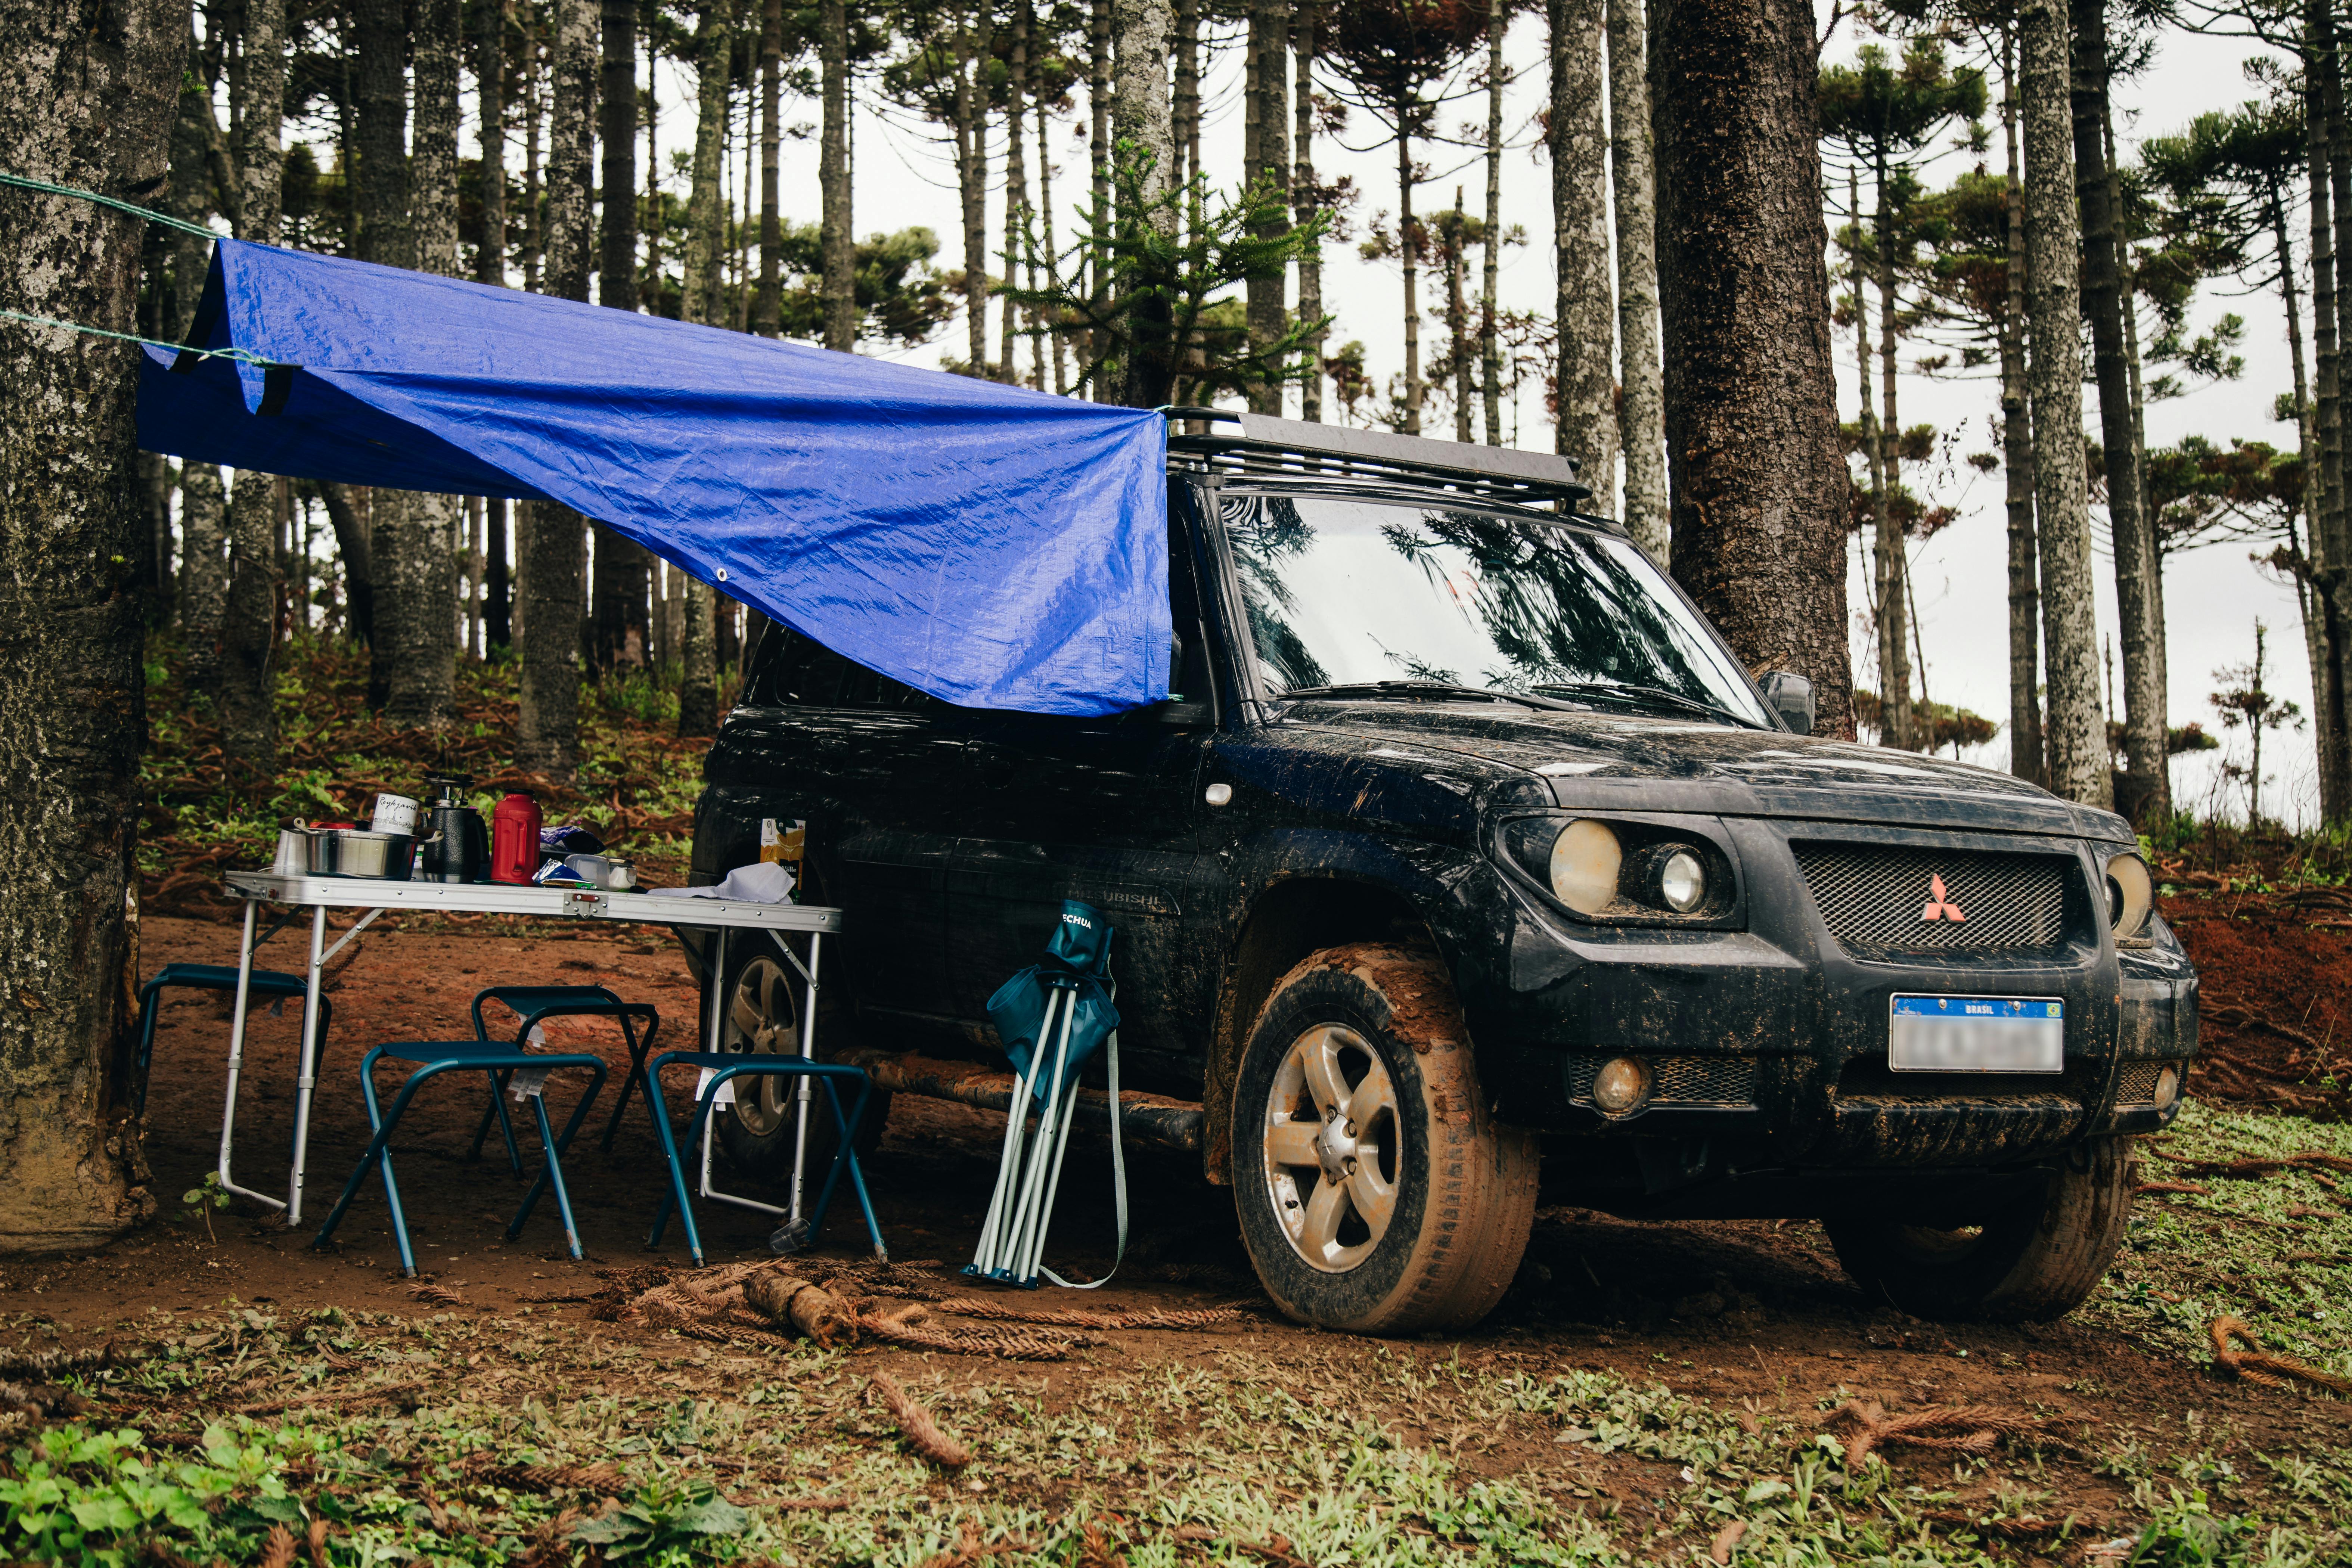
When you want simplicity and speed, the lean-to wins every time. This setup uses one high anchor point and stakes the opposite side low to the ground. You end up with a slanted roof that blocks rain and sun from one direction.
This works great when the weather is coming from a specific direction. Set up your lean-to so the high side faces the wind and rain. The low side becomes your sheltered area where you can cook, eat, or just hang out without getting wet.
The lean-to is also perfect for creating a covered area next to your RV or tent. If you are staying in one of the RV site rentals at Willowemoc Campgrounds, you can angle a lean-to off your awning to extend your dry space. It gives you extra room without requiring a complicated setup.
The Diamond Fly for Maximum Coverage
Want to cover more ground? The diamond fly gives you serious square footage. Instead of hanging your tarp lengthwise, you rotate it forty-five degrees and stake out all four corners plus the center peak. From above, it looks like a diamond shape, hence the name.
This setup requires a center pole or a high anchor point. Some campers use a tall stick or adjustable tarp pole. Others find a sturdy tree branch. Once you have your center point secured, pull each corner of the tarp out and stake it down at an angle. The result is a pyramid-shaped shelter with good headroom in the middle.
The diamond fly handles wind well because the angled sides let gusts flow around instead of catching like a sail. Rain sheds nicely too. The main downside? You need more space and more stakes than simpler setups.
The Flying Diamond for Open Sides
This variation of the diamond setup gives you more airflow and visibility. Instead of staking all four corners to the ground, you stake two opposite corners low and tie the other two corners up high to trees or poles. The tarp hangs at an angle with two open sides.
This setup is perfect for warm weather when you want shade but also want to catch any breeze that comes through. You can cook under it without smoke getting trapped. You can sit and enjoy the view without feeling closed in. When temperatures climb, airflow makes all the difference.
The flying diamond also adapts easily to different terrain. Having trouble finding good spots for all four corners? This setup only needs two ground stakes, making it work in rocky areas or on hard-packed dirt where driving stakes is difficult.
The Wedge Setup for Wind Protection
When the wind picks up, the wedge setup becomes your friend. This low-profile configuration hugs the ground and presents minimal surface area to the wind. You stake two corners down tight, raise the opposite edge to about waist height, and stake those corners out at an angle.
The result looks like a wedge of cheese lying on its side. One end is sealed tight to the ground, while the other end opens up for entry. This creates a protected space that blocks wind while still giving you room to move around.
Campers dealing with persistent wind direction love this setup. Point the closed end into the wind, and you create a calm pocket of air on the leeward side. You can cook, organize gear, or just sit and read without the wind constantly buffeting you.
Setting Up Over Your Tent
Sometimes your tent's rain fly just does not cut it during a serious downpour. Setting up a tarp over your tent adds an extra layer of protection and can make the difference between staying dry and dealing with leaks.
Leave a gap between your tarp and tent—at least six inches. This air space prevents condensation from building up and keeps water from pooling on your tent roof. You want the tarp to shed water away from your tent, not channel it down the sides.
This setup also keeps your tent cooler during sunny days. The tarp blocks direct sunlight and creates shade, which can drop the interior temperature by ten degrees or more. That makes afternoon naps much more pleasant.
Creating a Kitchen and Dining Area
A dedicated tarp over your cooking area is a game-changer. Rain no longer means cold sandwiches because you cannot light your stove. You can prep meals, wash dishes, and eat comfortably regardless of what the weather does.
Set up an A-frame or lean-to over your picnic table or camp kitchen area. Make sure you have enough headroom to stand and move around comfortably. Position the tarp so smoke from your stove can escape—you do not want to trap fumes in your cooking space.
Some campers at seasonal RV sites set up semi-permanent tarp structures over their outdoor kitchens. These setups can stay up all season, providing constant protection and making camp feel more like a home away from home.
The Ground Cloth Strategy
Not all tarp setups go overhead. Laying a tarp on the ground protects your tent floor from sharp rocks, sticks, and moisture. It also creates a clean area for taking off muddy boots before entering your sleeping space.
Cut your ground tarp slightly smaller than your tent footprint. If the tarp sticks out beyond your tent, it will collect rainwater and channel it underneath your tent floor—the exact opposite of what you want. Tuck any excess edges under your tent to keep water from pooling.
A ground tarp also works great for creating a clean staging area for your gear. Lay one down near your vehicle when you are setting up camp. You can organize equipment, sort through supplies, and keep everything off the dirt. When you pack up to leave, everything loads back into your vehicle without caking mud all over the interior.
Tips for Tying Secure Knots
Your tarp setup is only as good as your knots. A poorly tied rope will slip when the wind picks up or rain adds weight to your tarp. Learn a few basic knots and your setups will stay solid.
The taut-line hitch is your best friend for tarp camping. This adjustable knot lets you tighten or loosen your lines without untying everything. When rain stretches your rope or wind causes slack, you can fix it in seconds.
The bowline creates a fixed loop that will not slip. Use it when you need a secure attachment point that will not tighten down and become impossible to untie later. The trucker's hitch gives you mechanical advantage for pulling lines tight. One person can create serious tension using this knot, which keeps tarps from sagging.
Adjusting for Different Weather Conditions
Your perfect sunny-day tarp setup might not work when storms roll in. Adaptability is part of the skill. In heavy rain, lower your tarp and increase the angle so water runs off quickly. Make sure water drains away from your sheltered area.
During high winds, drop your profile. Lower setups catch less wind and stay put better. Add extra guy lines to support the middle of your tarp and prevent it from billowing. Check your stakes regularly and pound them deeper if needed.
Hot sunny days call for maximum shade coverage. Raise your tarp higher to let hot air escape underneath while still blocking the sun. Orient your setup to provide shade during the hottest parts of the day, typically afternoon hours.
Common Mistakes to Avoid
First-time tarp setters make predictable mistakes. Learning from others' errors saves you frustration. Do not pitch your tarp too tight. Materials shrink when wet, and an overly taut tarp will rip at the grommets or pull stakes out of the ground. Leave some slack—your rope should have a slight curve, not be tight as a guitar string.
Avoid setting up in low spots where water collects. Your beautiful tarp shelter becomes an island in a puddle if you pick the wrong location. Walk around during setup and look for slight rises in terrain.
Do not forget to account for tree drip. Rain does not stop falling just because it hits leaves first. Setting up directly under a thick canopy means dealing with large drops falling long after the rain stops. Position your tarp to avoid the worst drip zones.
Make Your Next Camping Trip Weather-Proof
A well-executed camping tarp setup turns unpredictable weather from a problem into a minor inconvenience. You stay dry, your gear stays protected, and you spend more time enjoying the outdoors instead of huddling in your tent waiting for storms to pass.
The setups covered here work whether you are tent camping for a weekend, parking your RV for a week, or settling in for a seasonal stay. Start with the basics—an A-frame or lean-to—and build your skills from there. Before long, you will be adjusting tarps on the fly and creating custom configurations for whatever conditions you face.
Ready to put your new tarp skills to the test? Book your stay at Willowemoc Campgrounds in Livingston Manor, New York, where you will find the perfect setting to practice your setups. With RV sites, seasonal options, and beautiful natural surroundings, you will have everything you need for your next outdoor adventure. Visit our website or call us today to reserve your spot and start planning your weather-ready camping experience!